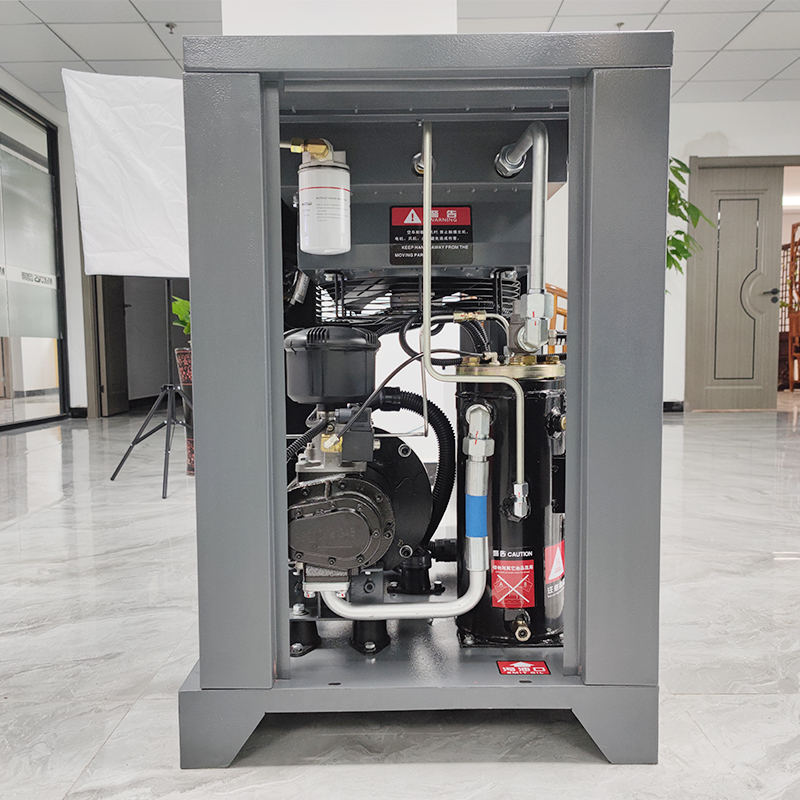
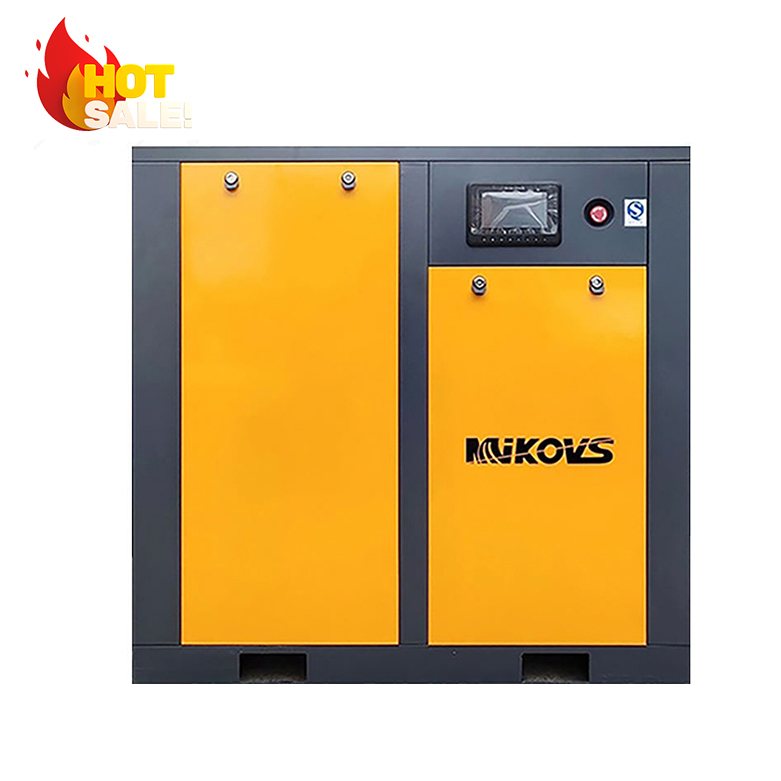
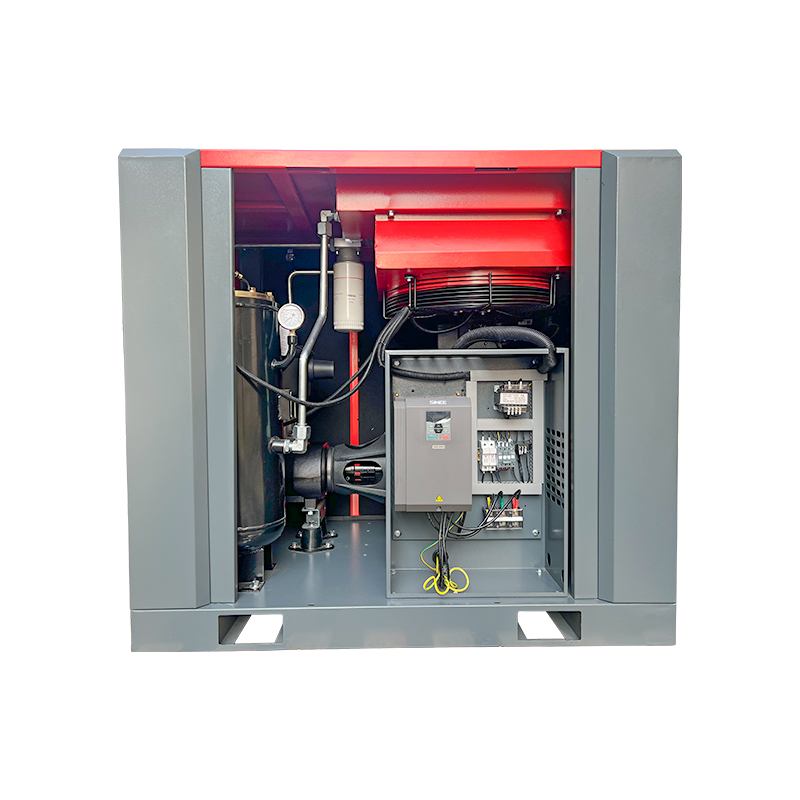
During the operation of the air compressor, the cleaning of the air compressor is particularly important.
During the operation of the air compressor, the generation of sludge, carbon deposits and other deposits will seriously affect the working efficiency of the compressor, resulting in a decrease in the heat dissipation of the compressor, a decrease in gas production efficiency, a decrease in energy consumption, and even cause compression machine equipment failure, increase maintenance costs, and even cause serious accidents such as shutdown and explosion. Therefore, the cleaning of the air compressor is particularly important.
The daily maintenance of air compressors is divided into three stages:
1. Pre-start project inspection
1. Check the oil level;
2. Remove the condensed water in the oil separator barrel;
3. For the water cooler, open the cooling water inlet and outlet valves of the compressor, start the water pump, and confirm that the water pump is running normally and the cooling water backflow is normal;
4. Open the compressor exhaust valve;
5. Turn on the emergency stop button, power on the controller for self-test, and then start the air compressor after the self-test is completed (when the temperature is lower than 8°C, the machine will automatically enter the pre-running state, click on the pre-run and the air compressor will automatically load when the temperature is right run)
* Stop to check the oil level, start to check the temperature.
2. Inspection items in operation
1. Check the operating status of the compressor every two hours, whether the operating parameters are normal (pressure, temperature, operating current, etc.), if there is any abnormality, stop the compressor immediately, and start it after troubleshooting.
2. Pay attention to water quality treatment and future monitoring for water-cooled machines, and pay attention to indoor ventilation conditions for air-cooled machines.
3. After the new machine has been in operation for one month, all wires and cables need to be checked and fastened.
3. Operation during shutdown
1. For normal shutdown, press the stop button to stop, and try to avoid pressing the emergency stop button to stop, because the shutdown without releasing the pressure in the system to below 0.4MPa will easily cause the intake valve to close in time and cause fuel injection.
2. For water coolers after shutdown, the cooling water pump should continue to run for 10 minutes, and then the cooling water valve should be closed after the water pump is turned off (for water coolers).
3. Close the exhaust valve of the compressor.
4. Check whether the oil level is normal.
cooler cleaning
before cleaning
after cleaning
1. Water-cooled cooler:
Disassemble the cooling water inlet and outlet pipes; inject cleaning solution to soak or flush with a pump cycle; rinse with clean water; install the cooling water inlet and outlet pipes.
2. Air-cooled cooler:
Open the air guide cover to clean the cover, or remove the cooling fan;
Use compressed air to blow back the dirt, and then take the dirt out of the windshield; if it is dirty, spray some degreaser before blowing. When the screw air compressor cannot be cleaned by the above methods, the cooler needs to be removed, soaked or sprayed with cleaning solution and cleaned with a brush (wire brush is strictly prohibited). Install the cover or cooling fan
3. Oil cooler:
When the fouling of the oil cooler is serious and the above method is not ideal for cleaning, the oil cooler can be removed separately, the end covers at both ends can be opened, and the scale can be removed with a special cleaning steel brush or other tools. When cleaning the medium side of the cooler cannot effectively reduce the temperature, the screw air compressor needs to clean the oil side, the steps are as follows:
Disassemble the oil inlet and outlet pipes;
Inject cleaning solution for soaking or flush with a pump cycle (the recoil effect is better);
rinse with water;
Blow dry with dry air or remove water with dehydrating oil;
Install the oil inlet and outlet pipes.
Cleaning of temperature control valve of screw air compressor
There is a side cover on the side of the temperature control valve of the screw air compressor, and there are screw holes on the cover. Find a suitable nut and screw it into the cover. Screw in the nut, you can take off the side cover and all the internal parts. Clean all parts of the temperature control valve according to the method of cleaning the unloading valve.
05
Unloading valve (intake valve) cleaning
If the dirt on the intake valve is serious, replace it with a new cleaning agent. During the cleaning process, wash the cleaner parts first, and then wash the dirtier parts. The cleaned parts should be rinsed again with clean water to avoid corrosion. To shorten the service life of the parts, the parts washed with water should be placed in a clean place to dry to prevent the iron-containing parts from rusting.
When cleaning the valve plate and the place where the valve body is in contact with the valve plate, pay attention to the smoothness of the surface, clean it, and replace it if necessary, otherwise it will cause the air compressor to start with load (screw air compressor with load) It will fail to start when starting)
Due to the many parts of the unloading valve, if you are not sure about the position of each part, you can remove each part and clean it before installing the part, but do not install the parts on the valve body first, and put them together after all the parts are cleaned. Assemble to valve body. After the entire cleaning process of the unloading valve is completed, put it aside to be installed in the air compressor.
06
Minimum pressure valve (pressure maintenance valve) cleaning
Although the minimum pressure valve in the screw air compressor looks relatively small, don’t underestimate it, it controls the whole machine. So you have to be more careful.
The structure of the minimum pressure valve is very simple. Unscrew the nut of the screw air compressor between the valve core and the valve body to take out the components inside. The minimum pressure valve core of the small unit is built into the valve body. All internal components can be taken out.
The minimum pressure valve can be cleaned according to the method of cleaning the unloading valve. After the cleaning process of the minimum pressure valve of the screw air compressor is completed, it is put aside to be installed in the air compressor.
07
Oil return check valve cleaning
The function of the oil return check valve is to smoothly recycle the oil from the oil-gas separator to the main engine without allowing the oil of the main engine to flow back to the oil-gas separator. The oil return check valve has a joint on the valve body, unscrew it from the joint, and take out the spring, steel ball and steel ball seat.
Clean the oil return one-way valve: Clean the valve body, spring, steel ball, steel ball seat with cleaning agent, and some check valves have filter screens inside, if any, clean them together.


